
How can I adjust my calendar's settings?
Read on below to learn how to adjust your calendar settings, or watch a webinar here:
1. From your main dashboard, click on "Calendar."
2. Go to the "Settings" section. 
3. In the "Edit My Calendars" section, you can name your calendars for your practice's internal use. In the "Nickname" section, you can set a nickname for each of your calendars. The nickname would only show up on your end.

4. In "Display in Calendar," check the calendars you want to display in your own calendar. 
5. In The "Display in Portal" section, check the calendars you want to display on the patient’s portal when they go to book an online appointment.

6. In the "Name displayed in portal/online booking" section, you can set up the names you want to be displayed for the calendars in your patients’ portal. 
7. In the "Choose Color" section, you can color code your appointments. When an appointment is booked under a particular calendar, it displays in your calendar, with the color you selected for that calendar. 
8. Click "Save" to save your settings.
9. In the "Defaults" section, you can control the default settings for your calendar. You can enable/disable appointment confirmation and auto reminders by marking the appropriate radio buttons. 
10. In "Appointment duration," you can select a default duration for future appointments.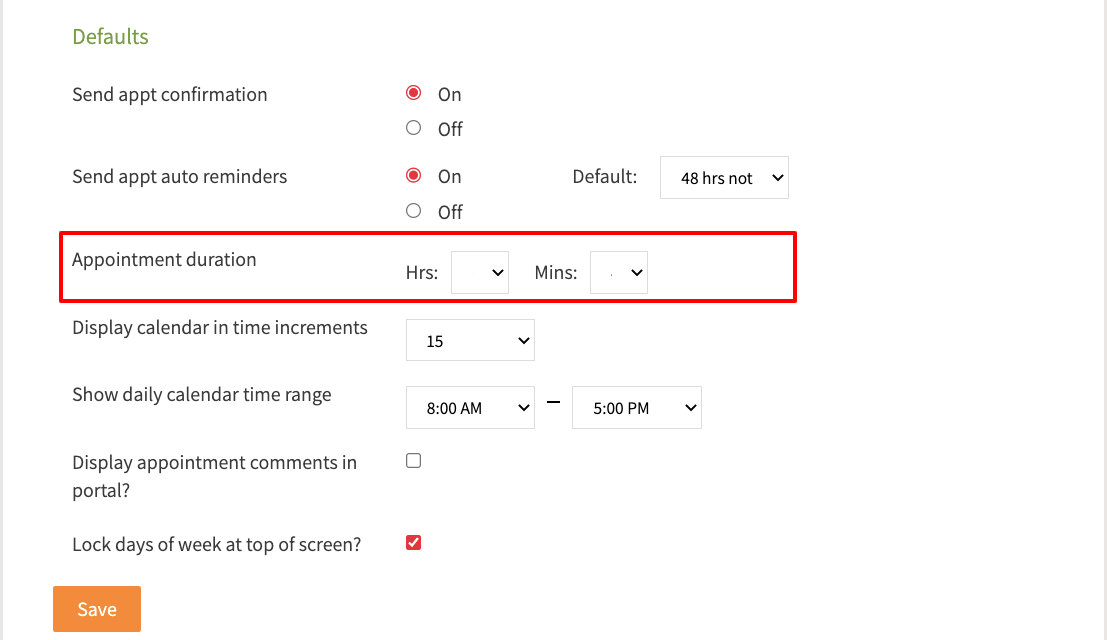
11. In the "Display calendar in time increments" section, you can control the increments you want your calendar to display. 
12. In The "Show daily calendar time range" section, you can select your working schedule, and it'll only display that time frame in your calendar. 
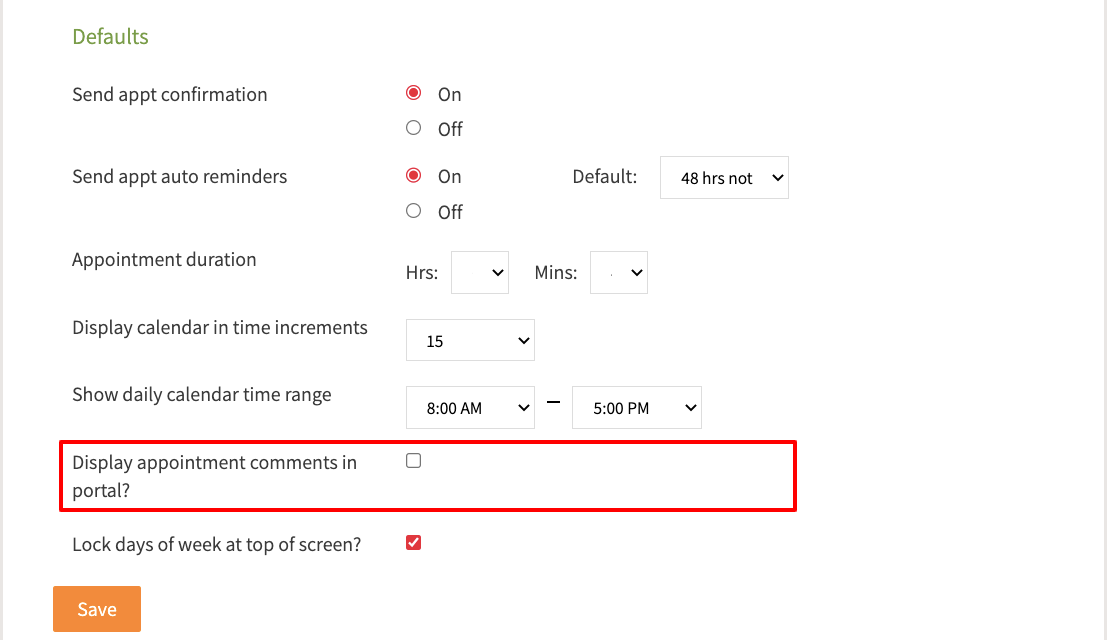
13. Check the "Display appointment comments in portal?" box to display an appointment comment in your patients’ portal. You can write the comment while the appointment is being scheduled.
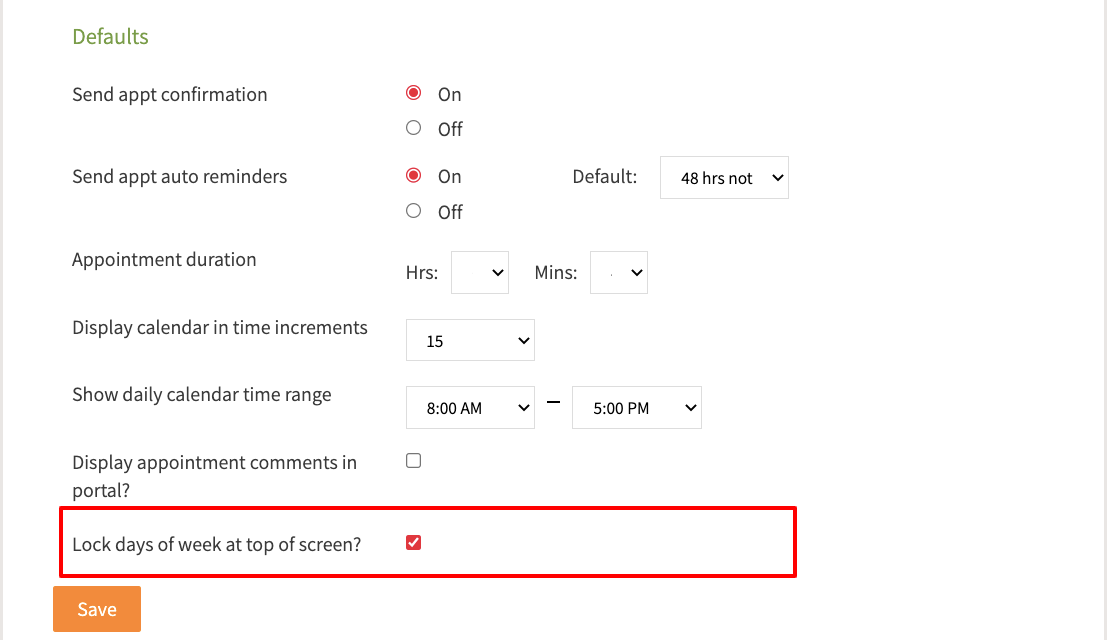
14. Check the "Lock days of week at top of screen?" box to lock the days of the week at the top of your calendar screen, so you always know the day that you’re working on while scheduling events in your calendar.
15. Click "Save" to save your settings.
If you have any questions, please contact us.