
How can my practice manage new patient/client onboarding?
Accepting patients/clients from a pre-screen form linked to your website
When utilizing a pre-screen form on your website, designate a staff member, administrator, or super administrator to oversee prospective client requests. Follow these steps to set it up and understand the workflow from the patient/client's perspective:
- Edit the pre-screen form and embed it on your website.
- Add the name of the super administrators or staff members who will be notified of new pre-screen requests by going to the Pre-Screen "Settings" section.
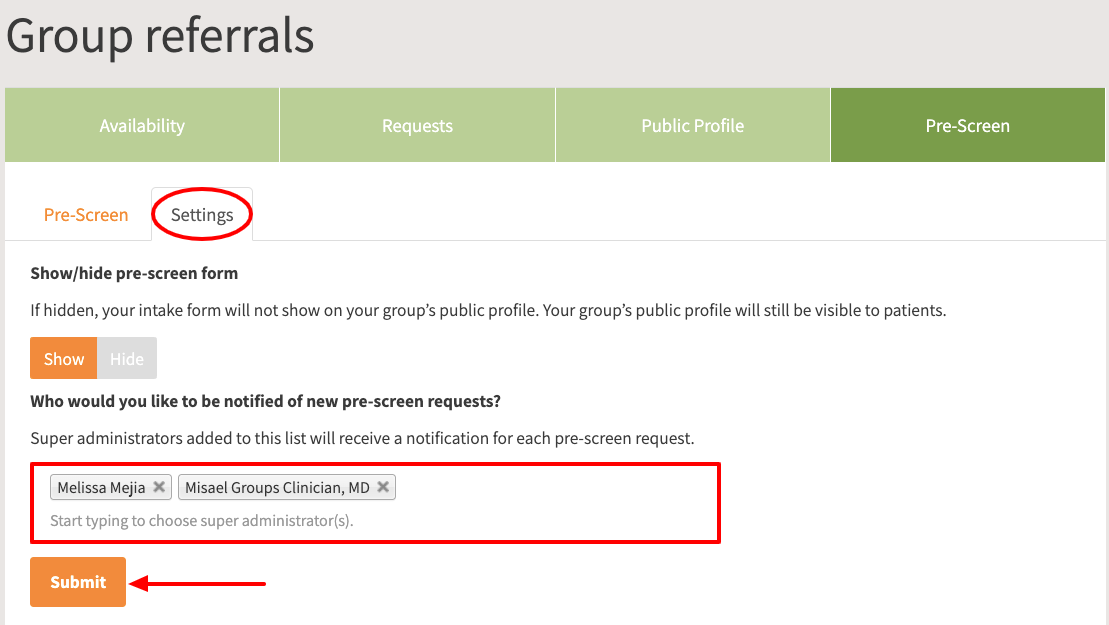
- The super administrator will review and accept or decline the request. They can use the "I want to" drop-down menu to proceed with necessary actions, such as assigning the request to a clinician, book an appointment, replying to the requestor, among other options.

- If you collect insurance information, you can request the patient to send a photo of their insurance ID card through the welcome message in your portal dashboard. This information can later be added to the patient/client's chart.
- If you accept credit card payments, encourage your patients/clients to add their payment details by mentioning it in your portal dashboard welcome message. You can also upload a credit card use authorization form for e-consent. More details on uploading PDFs for e-consent can be found here.
- Once the patient/client completes the required paperwork, provides insurance and credit card information, the practice manager can proceed to book the initial appointment.
Managing new patients/clients via phone calls or email
If you receive new patient/client inquiries through phone calls or email, follow these steps to ensure a smooth onboarding process:
- Invite your administrative staff members or super administrator (non-clinicians) to assist in managing new patient/client requests.
- Make sure your administrative staff members or super administrator have gone through the "Getting Started Checklist" to familiarize themselves with the system
- Grant the super administrator access to the master roster. Learn about setting permissions here.
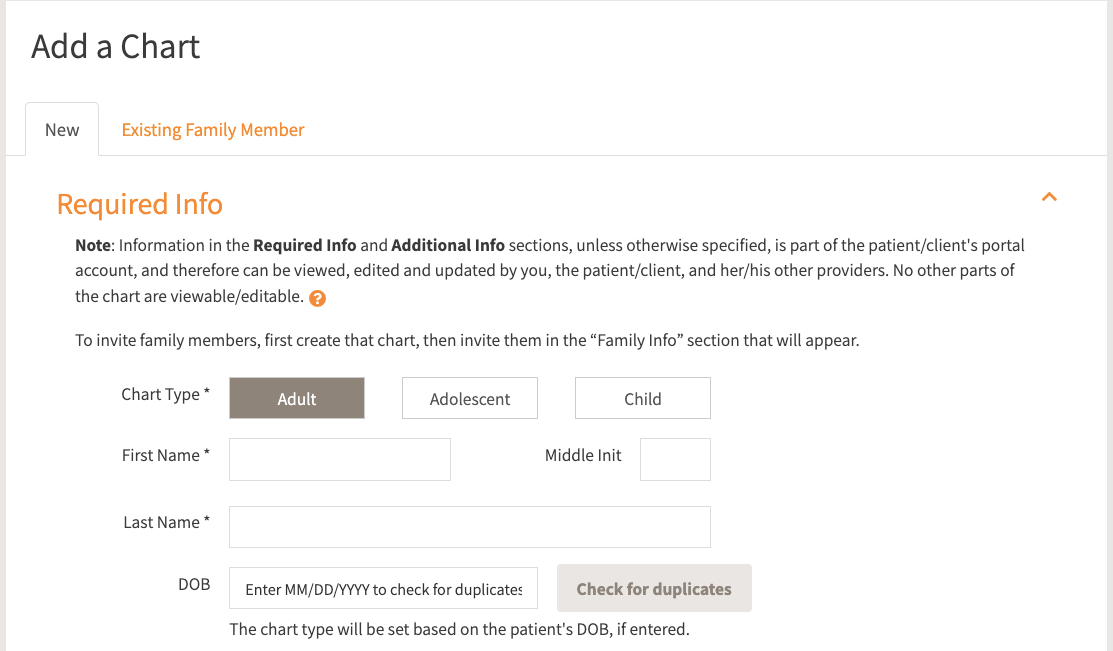
- It is advisable for the super admin to keep the "Add a Chart" option open in a separate browser tab for swift entry of new patient/client details. However, please note that after creating a chart and inviting the patient/client, the super admin should wait for a notification indicating the creation of the patient portal. Once received, they can proceed to send forms and initiate the next steps.
- For effective management of existing patients/clients via phone calls, the super admin can keep the master calendar open in a separate browser tab.
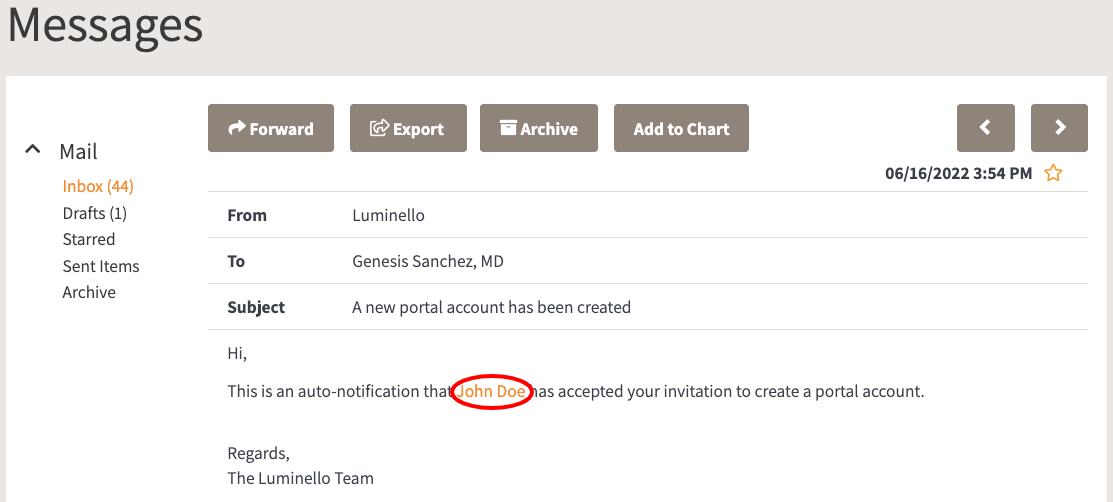
- Upon receiving the notification about the creation of the new portal account, the super admin can click on the patient's/client's name to access the chart.
- The charts “Shortcuts” menu facilitates a quick navigation.

- To ensure timely completion of pending tasks, individual tasks can be created and set as reminders.
- We highly recommend scheduling a free onboarding meeting for personalized assistance in optimizing your practice's scheduling workflow. During this meeting, we will guide you through Luminello and explore the various options available to enhance your experience.
If you have any questions, please contact us.